
First-run setup
The first time you open Relay, a guided setup checks your computer and tells you exactly what to install, copy or paste at each step. Every step can be skipped.
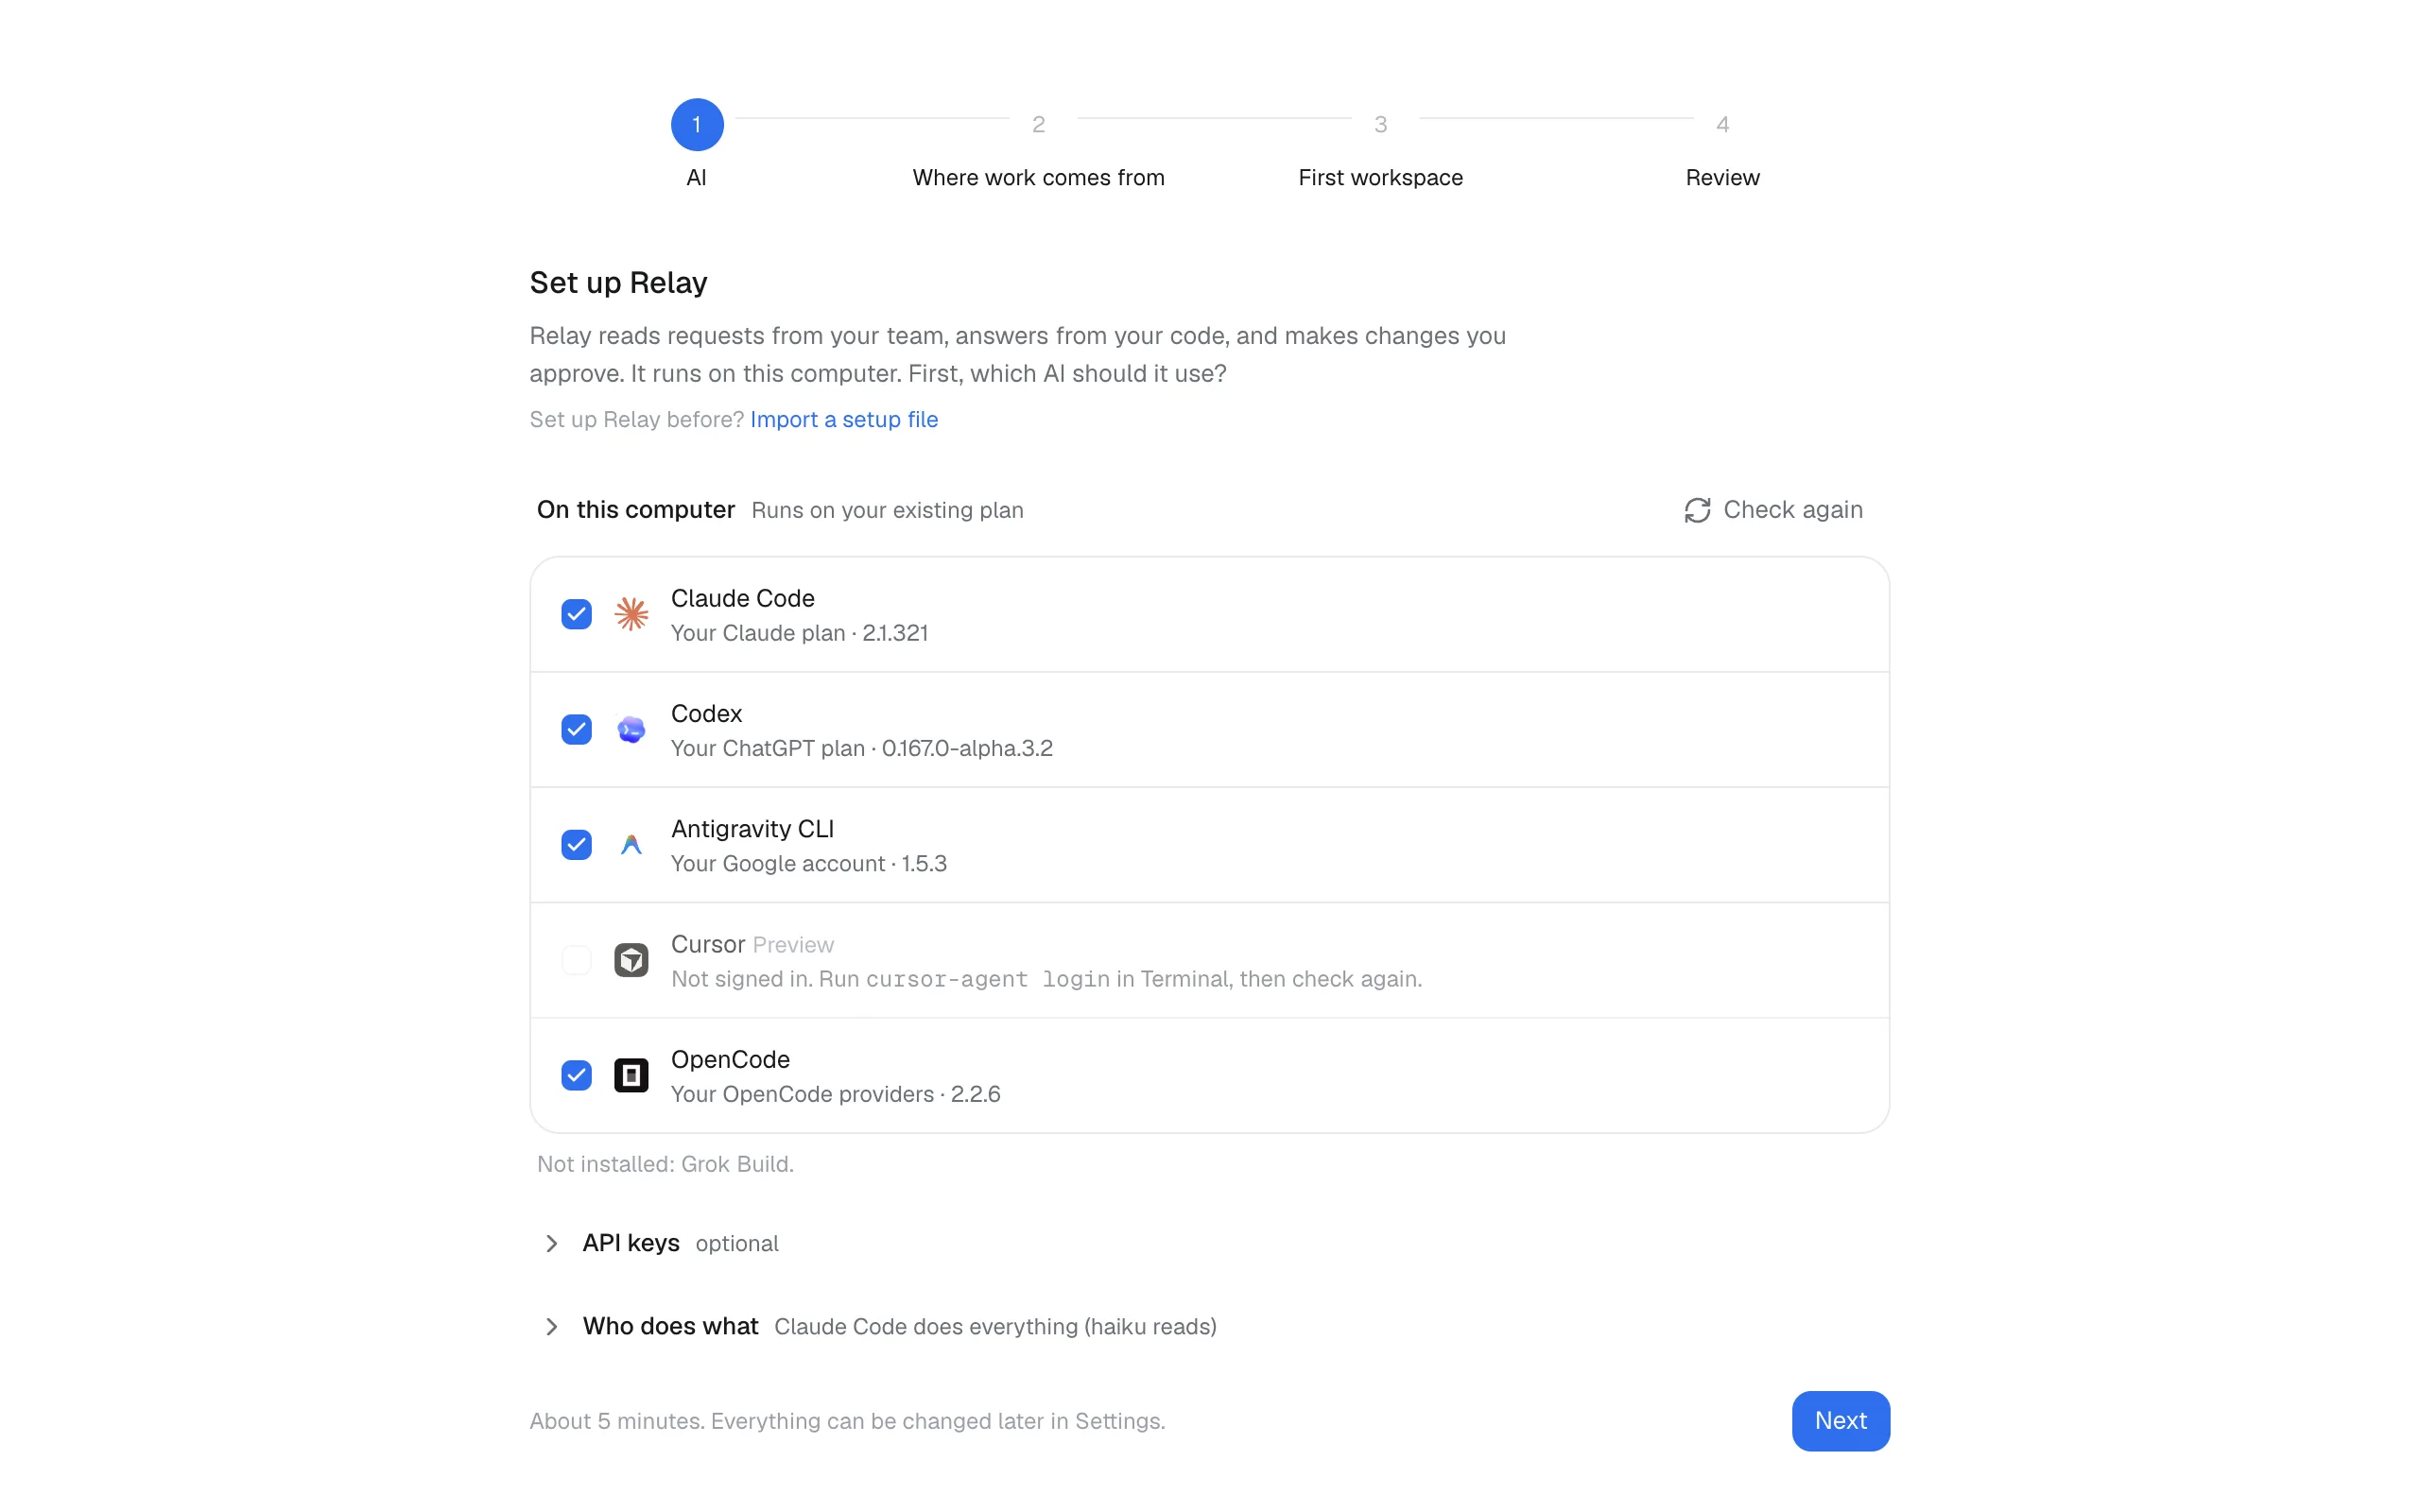
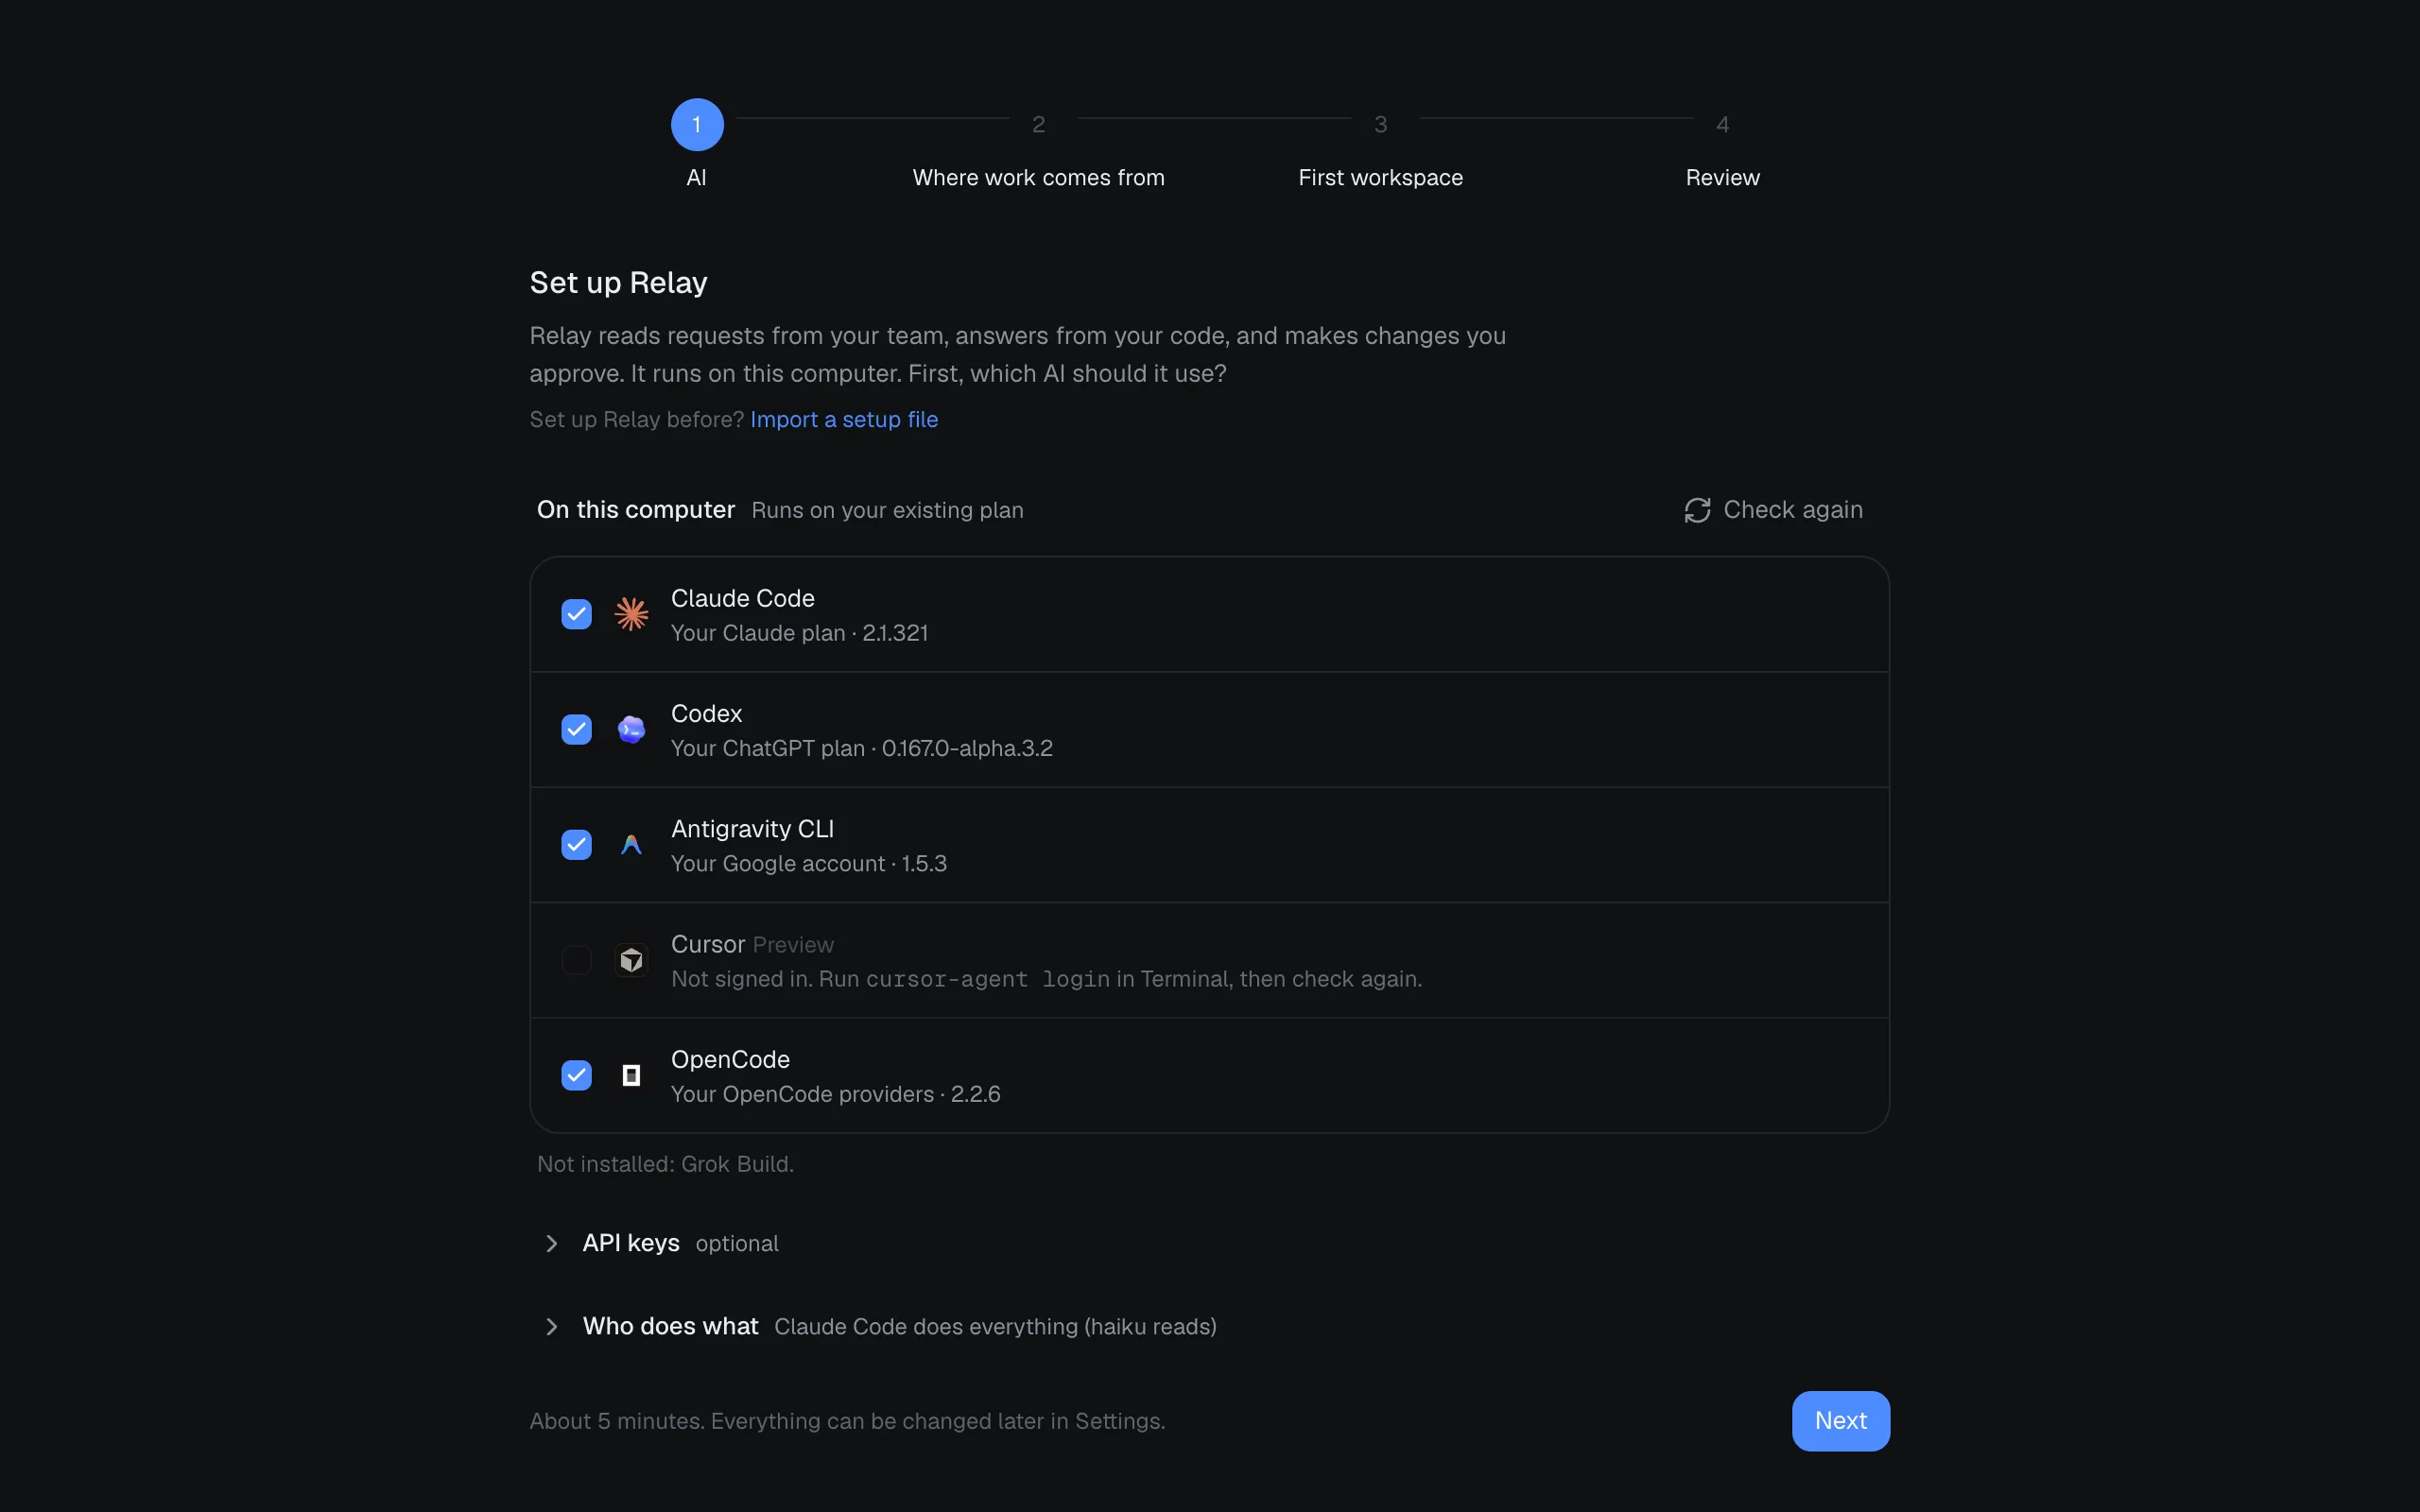
Agent tools found on your computer (Claude Code, Codex, Antigravity, Cursor, Grok Build, OpenCode) are ticked when they’re signed in. Add API keys for any providers you like, or a local server.
Then choose a model for each role:
| Role | What it does | Good choice |
|---|---|---|
| Understand | Classifies every incoming message. Runs often, so keep it small. | A fast, cheap model |
| Answer | Writes replies, reading your repos when needed. | A capable model |
| Code | Makes approved code changes. | Your strongest model |
2. Where work comes from
Section titled “2. Where work comes from”Tick Slack, Linear or ClickUp and choose how Relay connects to each: through your own connection in Claude Code, or with an account of Relay’s own. Each shows one status line and how to fix it. See Connecting Slack, Linear and ClickUp.
3. First workspace
Section titled “3. First workspace”Pick repos from the ones found on your computer (most recently used first). Optionally, link the Slack channels, Linear teams or projects, and ClickUp lists where the workspace is discussed. Linked places help Relay match messages to the right workspace without spending a model call. See Workspaces.
4. Review and go live
Section titled “4. Review and go live”A checklist shows everything that’s ready and everything that isn’t, each with its fix, including Git and the GitHub CLI.
Then decide whether Relay may reply. Replying starts off. While it’s off, Relay still reads, classifies and drafts, but sends nothing to Slack, Linear or ClickUp; you’ll see what it would have said in the app. The switch explains what turning it on does for your setup.
Changing things later
Section titled “Changing things later”- ⌘K → Run setup again reopens this flow.
- Settings → AI, Connections and Credentials change any of it.
- Export your setup from Settings → Import & export to move it to another computer.